Setup
Login to 2i2c JupyterHub
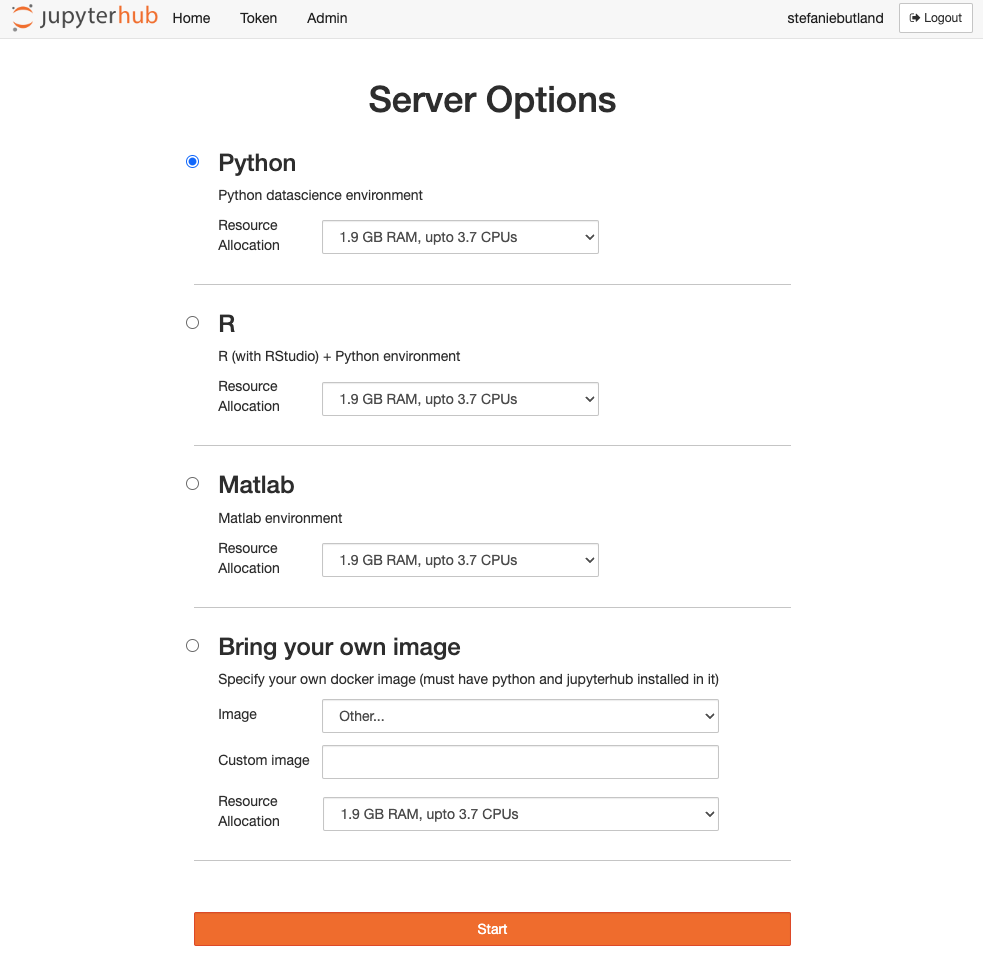
Go to the Openscapes 2i2c JupyterHub https://openscapes.2i2c.cloud > log in with your GitHub Account > select the Python server.

Click the orange Start button with defaults for Python and resource allocation.
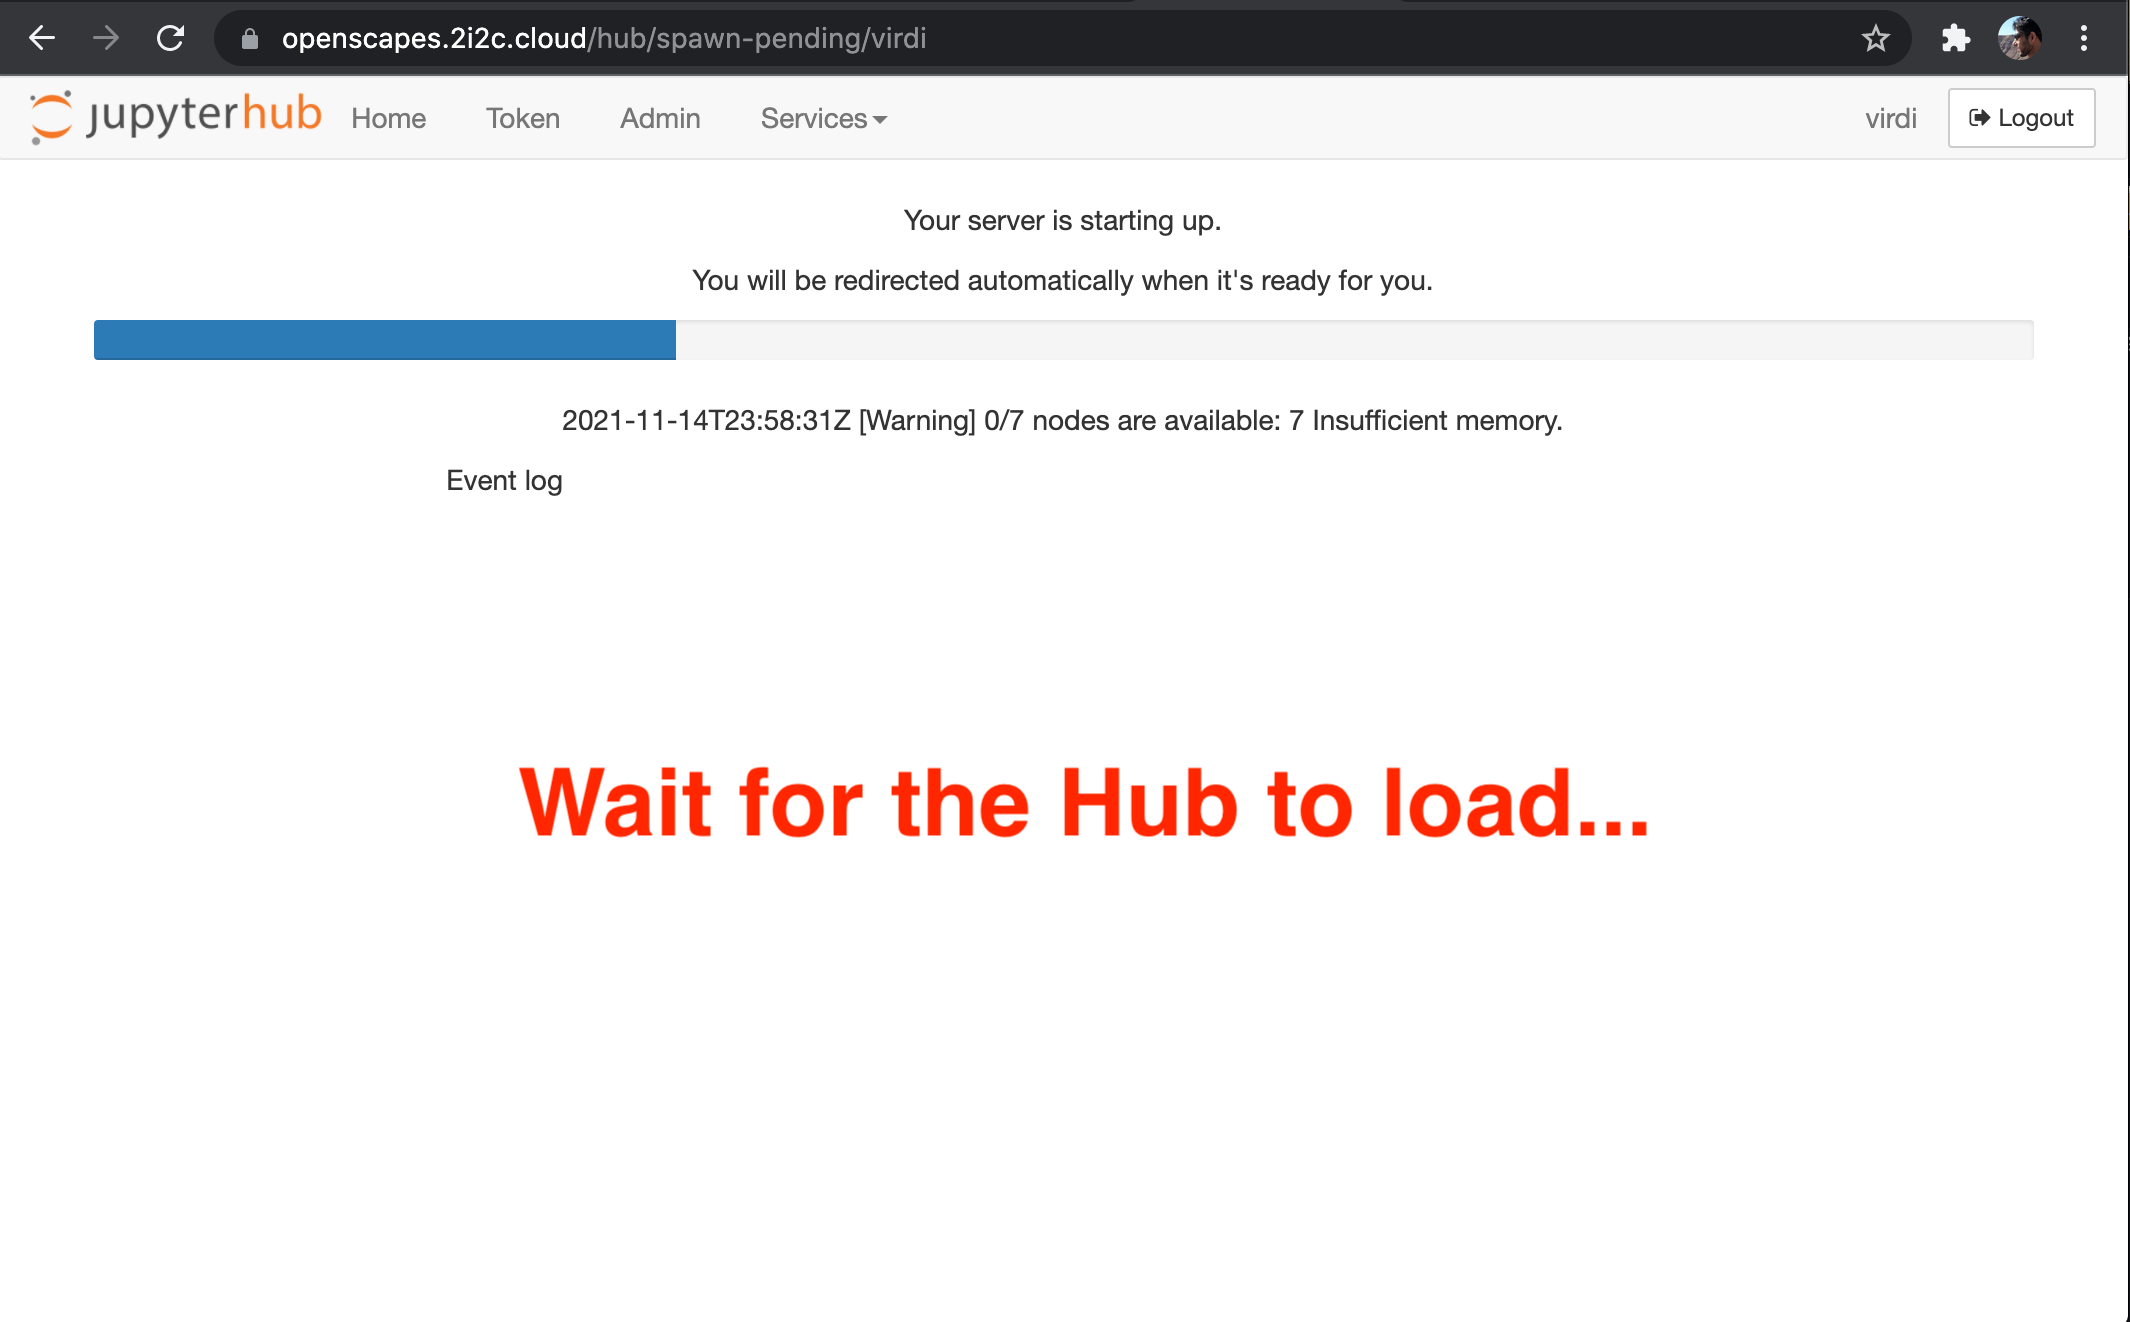
It takes a few minutes for the Hub to load. Please be patient!
Clone quarto-clinic repo
After our Hub server has loaded, we’ll clone the Quarto Clinic repository into the Hub. We’ll do this using a clickable plugin; you could also do this from the Terminal if you prefer.
In the Hub, use the Git tab to Clone the repo.

Create a branch
Next, we’ll create a branch in git/GitHub. Working in a branch means you have your own version of the Quarto Clinic to edit and preview.
Branches are like parallel universes where you can safely make changes to source materials without disturbing the original. It is good practice to using branches for small, discrete additions that you will then contribute back to the main branch. In Clinic Part 2, we’ll learn how to contribute your edits to the Main branch of the Clinic by making a “Pull Request” on GitHub.
First, set quarto-clinic as your working directory. In the Terminal type cd quarto-clinic. (You may need to click on the folder icon at the top-left of the side nav bar to return to the Terminal.)
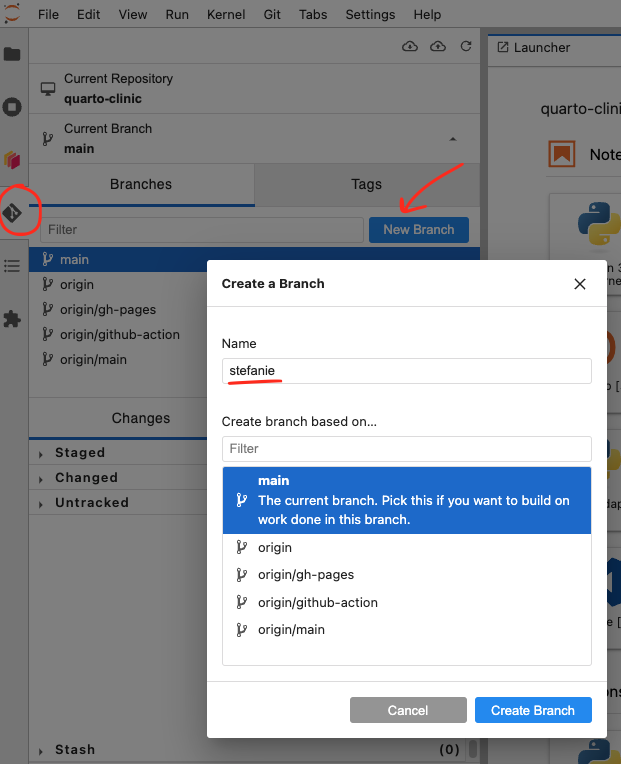
Next, click the Git plugin tab. Click New Branch (blue rectangle) and enter a new branch name, let’s write your name, to make it easy to identify your work in the exercises that follow.
Onward!
Since we have each set up our own GitHub clone with our unique branch of this Quarto Clinic website in the Hub, now we are ready to start editing! The next chapter describes how to do this in the JupyterHub.